Ancient Hardware and a Corrupted Harddrive
Happy New Year everyone. Today I installed Arch Linux on my old crusty laptop.
Well, technically a week ago at this point. I just wanted to share my experience with the process of installing it on such old hardware.
For those of you a little less tech savvy, I’ve undergone the process of installing Arch Linux, a lightweight Linux operating system that is known for being a little bit tricky to install and manage. It is not as simple as downloading and formatting an .iso file onto a flashdrive, plugging it in and clicking next on each slide of the installer wizard window until its ready to go. In Arch, you have to manually type in scary commands on a scary black terminal window, partitioning your disks, formatting them, installing packages, etc. and anything and everything can happen if you don’t know what you are doing.
The cool thing about Arch is how extremely lightweight and performant it is, especially on hardware. So lightweight that you can install it on an ancient computer and it’ll run as good as new. My old laptop is a Presario Compaq CQ60 that containing a single core processor with a whopping 2 gigabytes of RAM. Pretty bad, even for laptops of its era, plus it ran on Windows Vista (evil smelly operating system).
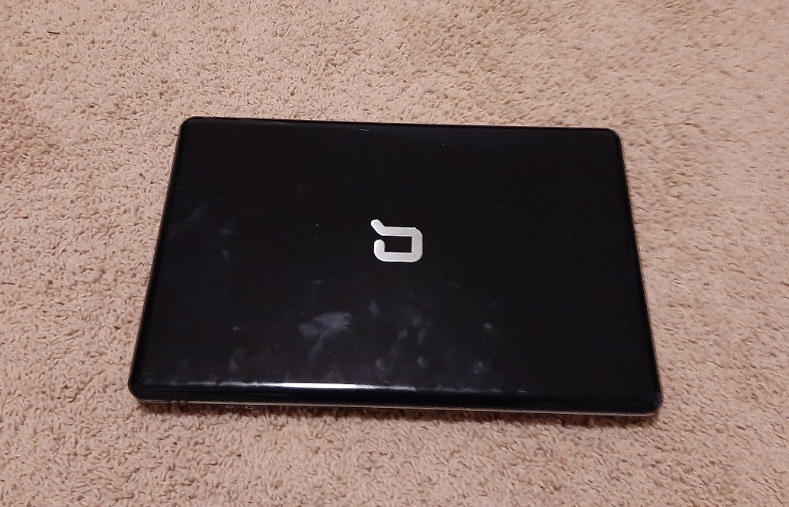
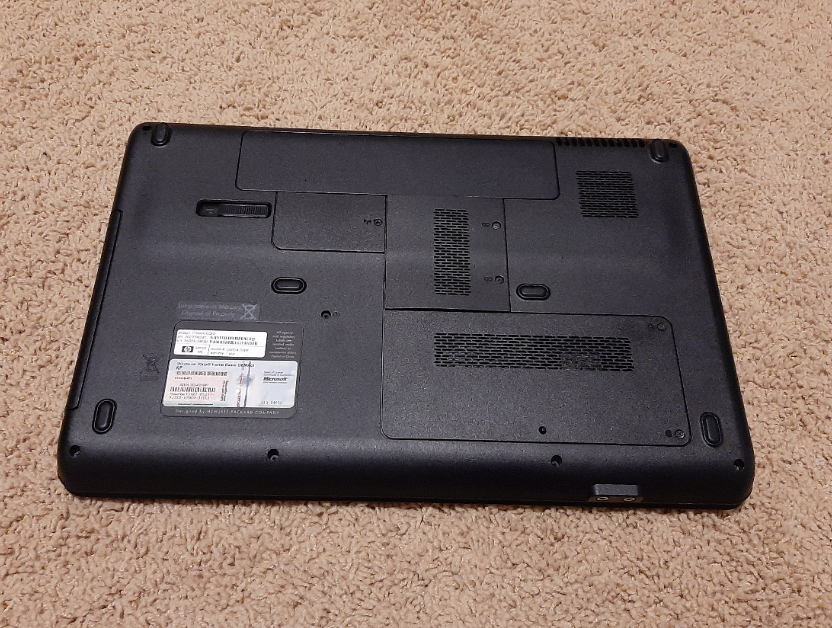
A long while back I attempted to turn on this old ancient relic to see what I can scavenge, and to my surprise I found old files from that era. It was exciting, but during my process of scavenging through ancient files like an old scholar in a monastic archive, I accidentally snagged the power cable, and the computer was so low on power that it just flat out turned off. With haste, I turned on the laptop with the operating system stuck on boot. Unfortunately Windows Vista got corrupted and the laptop was gone for good (or so I thought).
Months later I returned to it after purchasing a SATA to usb3.0 drive and attempted to rip the old data out. Using my other laptop that ran Ubuntu and with the help of TestDisk, a free open source hard disk recovery software, I managed to safely copy and secure most of the important files, and oh boy did I find some very important stuff. I found old home movies of my 13th birthday, Christmas of that year, family vacation trips and more. I was happy to secure my find, and after making backups I was left with the old husk of a machine I had. It had no practical use to it being so old and slow, but even then there must be something I could use for it. Then I thought “why not install Arch for practice and fun?”. So I did.
Setup
Now I couldn’t install Arch on the current hard drive since its basically corrupted and too old and too slow for that matter, so I went on and purchase a cheap 240GB Kingston SSD from Amazon, and proceeded to replace the old disk. One problem came up suddenly, and that was the fact that I had terrible screw drivers and the screws on the old HDD got stripped to the point that it was very difficult to take them out
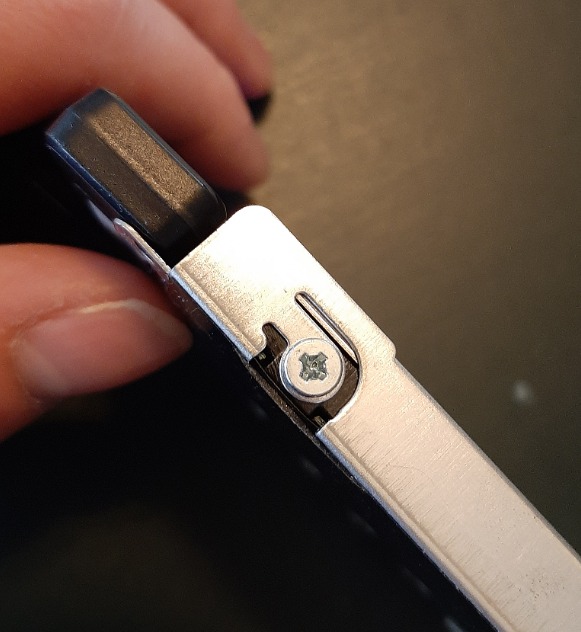
While attempting to remove the stripped screws all day, I basically went “screw it” (pun fully intended) and just slapped the SSD in naked with no caddy and just left it as is. Honestly as long as I didn’t drop it and shake it in such a way that will loosen the SATA connector on the drive then all will be well:
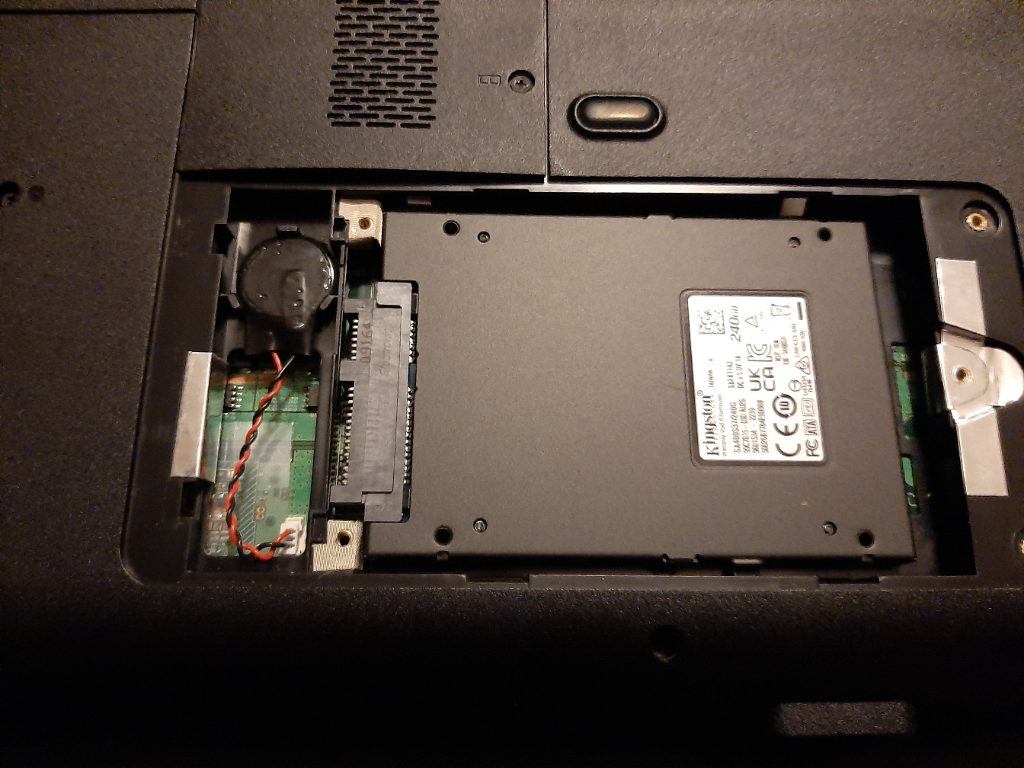
Afterwards, I proceeded to install Arch!
Arch Setup
I must confess though, this technically wasn’t the first time I installed Arch. Prior to this I installed it on a Virtual Machine on my main desktop PC through VirtualBox with the EFI setting deselected. Manually through a formatted flash drive it was overall the same process. Only problem was I had to use a physical ethernet cable from my desktop, and trying to go back and forth on my phone being low on power during the process got annoying, but honestly it wasn’t that big of a deal.
The same steps I took to installing Arch on VirtualBox were as followed thanks to a tutorial from Mental Outlaw on YouTube, which you can find here.
In that video, someone left a comment that detailed all the commands typed in order from the video which was what I used completely. I cleaned up that comment and these were the commands I used.
*Note: Take this as a little tutorial on installing Arch from me to you, but in my opinion I recommend you watch the same video I wached for your own sake (and of course read the Arch wiki which all the Arch elitists will yell at me for not mentioning if you have any specific problems).
Installing Arch
timedatectl set-ntp true
cfdisk /dev/sda
This next part you need to partition your drives. The first one being your boot drive, which I placed mine at 128M. The second partition being the rest of the SSD’s space for storage. Both drives should aptly be titled /dev/sda1 and /dev/sda2 respectively. /dev/sda1 will be our boot drive so we mark it with pressing “b” on our keyboard. Afterwards we write our disks in by selecting ‘write’, followed by responding to the prompt given by typing “yes”. Our drives are now partitioned! Now we just then need to format them.
mkfs.ext4 /dev/sda1
mkfs.ext4 /dev/sda2
mount /dev/sda2 /mnt
mkdir /mnt/boot
mount /dev/sda1 /mnt/boot
I do have to elaborate on this next step since I was having problems at first. After we format our drives we are ready to install the basic packages to have Arch function, but on my end I was having errors when using it with the error log saying something about a corrupted keyring or absent gpg keys. It was bad enough to where I couldn’t progress to the next step, and I’d assume it had to do with the .iso file I was using. After doing some research I figured that was it, and I resolved the problem through the following command
sudo pacman -S archlinux-keyring
Afterwards, the following commands were as followed:
pacstrap /mnt base base-devel linux linux-firmware vim (i used Vim, but you can use alternatives such as nano. same wording applies)
genfstab -U /mnt >> /mnt/etc/fstab
arch-chroot /mnt /bin/bash
pacman -S networkmanager grub
systemctl enable NetworkManager
grub-install /dev/sda
grub-mkconfig -o /boot/grub/grub.cfg
passwd
Now the next part is typing in your root password for your system after typing “passwd”
vim /etc/locale.gen
*WARNING: If you do not know how to use Vim, I recommend looking up some basic tutorials on the commands since it does not function like most typical text editors, or else you’ll edit and erase something important. Either way the next step is choosing which keyboard layout you want by uncommenting the one you want. Mine is the following:
/en_US (then uncomment en_US.UTF-8 + ISO)
the following lines I uncommented and the rest of the commands are as follows:
locale-gen
vim /etc/local.conf (type your keyboard language format here. Mine is: LANG=en-US.UTF-8)
vim /etc/hostname
ln -sf /usr/share/zoneinfo/America/Chicago /etc/localtime
exit
umount -R /mnt
reboot
And we have now installed Arch!
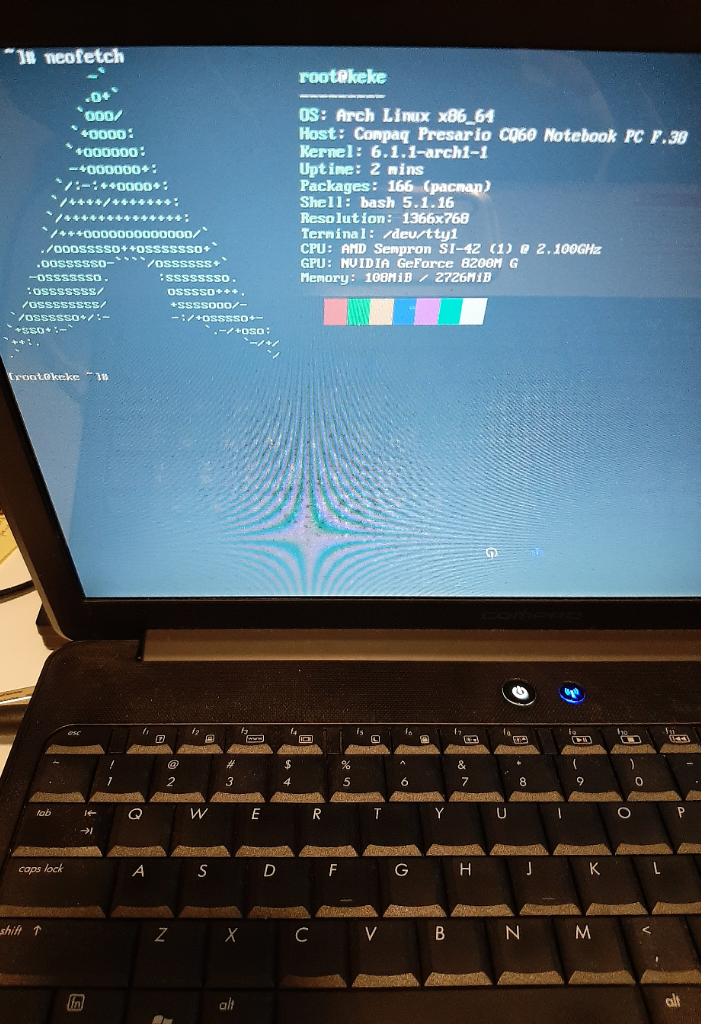
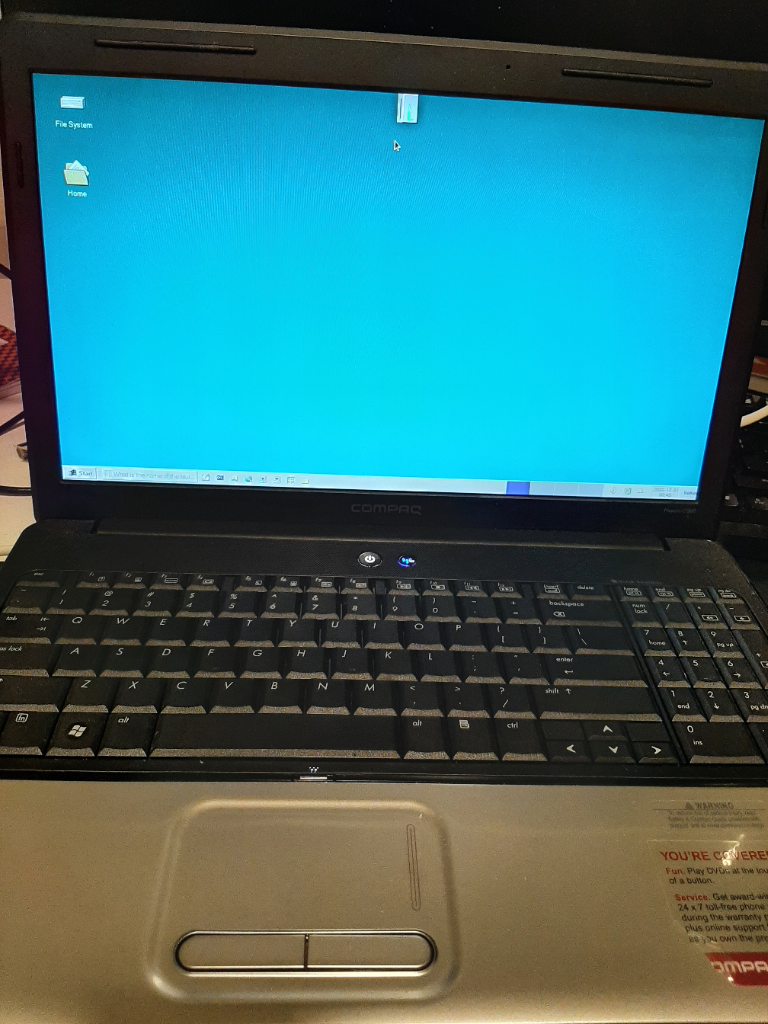
The next thing I did was installing some extra optional packages to tidy things up, and afterwards installing the desktop environment of choice. I went with the xfce desktop environment since it has little bloat compared to others, but the main I chose it was because was because I was able to edit the look to make it look like Windows95 through a custom theme on Github called Chicago95. Mental Outlaw also has a video on installing the theme here
The result ended up being better than I thought too!
Overall that is my experience with installing Arch Linux on physical hardware. Apparently to many installing Arch is half the battle and the other is maintaining it if it breaks. That may be a pain to many, and to those that would like an Arch based distro thats fresh out of the box and doesn’t break (for the most part), you could instead go with EndeavourOS or Manjaro.
Either way, that was my experience installing Arch Linux on my old crusty 2009 laptop. Hope you enjoyed this rather basic tutorial I had as well. Take care and have a good one everyone.
-T. Phil

Leave a Reply